
Welcome to the GMVC96 Installation Manual. This guide provides comprehensive instructions for installing, operating, and maintaining the Goodman GMVC96 furnace. Designed for HVAC professionals, it ensures safe and proper installation, adhering to safety standards and manufacturer recommendations. Read thoroughly before starting to guarantee compliance and optimal performance.
Installation Requirements
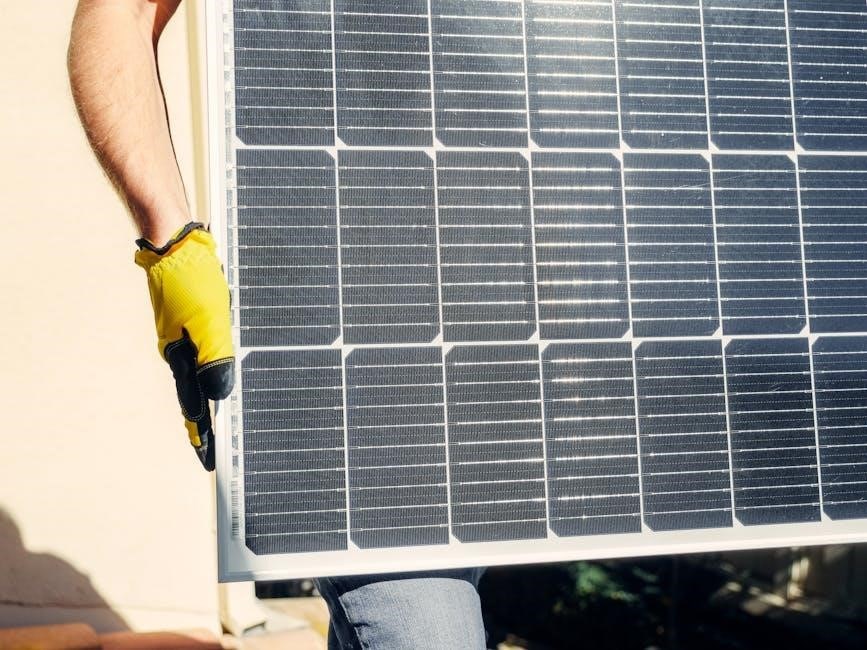
The GMVC96 furnace must be installed by a qualified HVAC technician following local building codes. Ensure proper venting, combustion air supply, and electrical connections for safe operation and efficiency.
2.1. System Compatibility
The GMVC96 furnace must be installed in systems compatible with its specifications. Ensure the furnace is connected to an approved vent system and combustion air pipe as outlined in the manual. Compatibility with local building codes, electrical connections, and fuel supply is critical for safe and efficient operation. The furnace is designed to work with compatible thermostats and air handlers, particularly those equipped with ComfortBridge technology. Verify all components meet the manufacturer’s requirements to ensure proper functionality and avoid potential issues. Always refer to the manual for specific compatibility guidelines before proceeding with installation.
2.2. Safety Precautions
Safety precautions are critical when installing the GMVC96 furnace. Always follow the guidelines outlined in this manual to avoid potential hazards. Ensure proper ventilation and never use open flames to test for gas leaks. Only qualified HVAC professionals should perform the installation, as improper handling can lead to safety risks. Familiarize yourself with all safety warnings and precautions before starting the installation process. Failure to adhere to these guidelines may result in property damage or personal injury. The manual emphasizes the importance of following safety standards to ensure a safe and efficient installation. Always prioritize safety to protect both the system and the individuals involved in the process.
Venting and Flue Pipe Specifications
The GMVC96 requires a properly installed venting system to ensure safe operation. Use only approved venting materials and follow the specifications outlined in this manual to prevent hazards.
3.1. Venting Requirements
The GMVC96 furnace requires a venting system that meets specific criteria to ensure safe and efficient operation. Always use approved venting materials, such as PVC or ABS pipes, and follow the sizing guidelines provided in this manual. The venting system must be installed in accordance with local building codes and manufacturer specifications. Proper venting ensures the removal of combustion byproducts and maintains optimal furnace performance. Additionally, the combustion air intake must be correctly configured to provide adequate airflow. Refer to the venting diagrams and tables in this section for detailed installation instructions. Failure to comply with these requirements may result in unsafe operating conditions or reduced efficiency. Always test the venting system for leaks using a soapy water solution before finalizing the installation;
3.2. Combustion Air Pipe
The combustion air pipe is a critical component of the GMVC96 installation, ensuring adequate airflow for proper combustion. It must be installed according to the specifications outlined in this manual. Use PVC or ABS pipes, as they are resistant to corrosion and meet safety standards. The pipe diameter and length must be carefully calculated to avoid restricting airflow, which could lead to incomplete combustion or reduced furnace efficiency. Ensure all connections are airtight to prevent leaks. If the furnace is installed in a confined space, additional ventilation may be required. Always refer to local building codes and manufacturer guidelines for specific requirements. Proper installation of the combustion air pipe is essential for safe and efficient furnace operation, as well as compliance with safety regulations.
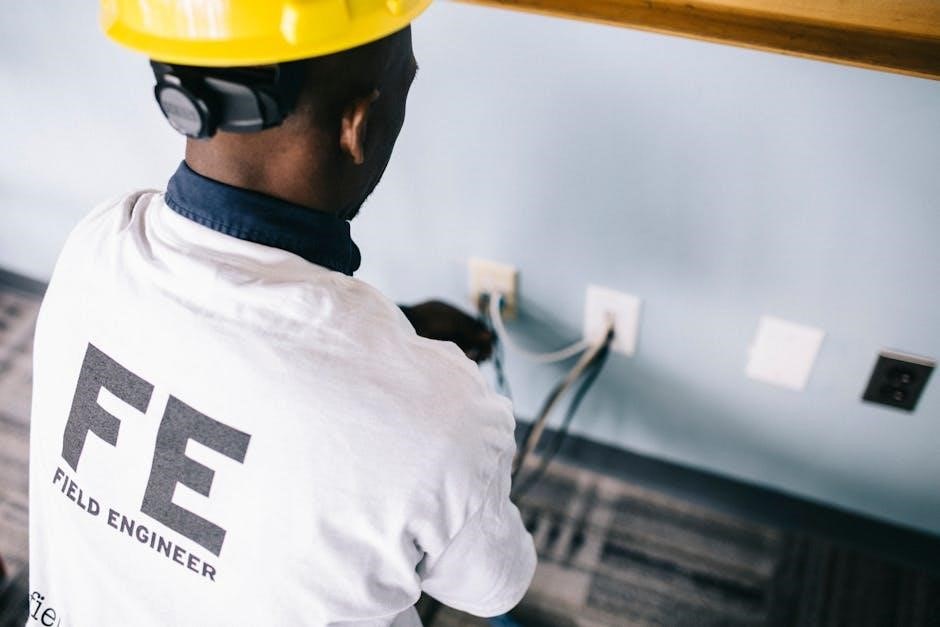
Electrical Connections
The GMVC96 requires a 120V power supply for the silicon nitride igniter and 24V for system operation. Proper wiring ensures safe and efficient furnace performance. Refer to the manual for specific electrical connection procedures.
4.1. Wiring Requirements
Ensure proper wiring by following these guidelines:
- Use a 120V power supply for the silicon nitride igniter and 24V for system operation.
- Connect the furnace to a dedicated 20-amp circuit to prevent electrical overload.
- Use appropriately sized wires as specified in the manual to ensure safe and efficient operation.
- Properly ground the system to meet safety standards and prevent electrical hazards.
- Refer to the wiring diagram in the manual for terminal connections and configurations.
- Ensure all connections are secure and comply with local and national electrical codes.
Incorrect wiring can lead to safety risks or system malfunctions, so adherence to these requirements is critical.
4.2. Dehumidistat Wiring
Dehumidistat wiring ensures proper control of humidity levels during system operation. Follow these steps:
- Locate the dehumidistat terminals as indicated in the wiring diagram.
- Connect the dehumidistat to the furnace’s control board using 24V wiring.
- Ensure all connections are secure and properly insulated.
- Set the dehumidistat according to the manufacturer’s instructions for optimal performance.
- Test the system to confirm correct operation after wiring.
Proper wiring ensures accurate humidity control and system efficiency, preventing issues like excessive moisture or uneven heating.
Installation Steps
This section outlines the step-by-step process for installing the GMVC96 furnace, including site preparation, unit unpacking, placement, leveling, and connecting essential components.
5.1. Pre-Installation Checklist
Before beginning the installation, ensure the following steps are completed:
- Thoroughly read the GMVC96 Installation Manual to understand all requirements and safety precautions.
- Verify the installation site is clean, dry, and meets all specified location criteria.
- Ensure all necessary tools and materials are available, including venting components and electrical connections.
- Check that the furnace is properly matched with the system’s specifications and compatibility.
- Confirm that all local building codes and regulations are adhered to.
- Inspect the venting and combustion air pipes for any damage or obstructions.
- Ensure the gas supply line is properly sized and leak-tested before connecting the furnace.
- Verify that the electrical power supply matches the furnace’s requirements.
Completing this checklist ensures a safe and efficient installation process.
5.2. Physical Installation Process
Begin by carefully uncrating and positioning the furnace in its designated location. Ensure the unit is level and securely fastened to the floor or platform. Next, connect the venting system according to the specifications outlined in the GMVC96 Installation Manual. Attach the combustion air pipe, ensuring proper sealing to prevent leaks. Install the electrical connections, making sure all wiring matches the furnace’s requirements. Connect the gas supply line and test for leaks using an approved method. Finally, power up the system and perform a full operational test to ensure all components function correctly. Refer to the manual for detailed steps and safety guidelines during this process.

Parts Breakdown and Specifications
The GMVC96 furnace includes a range of components designed for high-efficiency performance. Key parts include the heat exchanger, blower motor, gas valve, and control board. The heat exchanger is constructed from durable aluminized steel for long-lasting reliability. The blower motor operates at two speeds for consistent airflow and quiet operation. The gas valve ensures precise fuel delivery, while the control board manages system operations. Additional components like the venting system, combustion air pipe, and electrical connectors are specified for safe and efficient installation. Refer to the detailed parts breakdown in this manual for exact specifications, dimensions, and material details to ensure compatibility and proper assembly during installation.
Troubleshooting and Common Issues
Troubleshooting the GMVC96 furnace involves identifying common issues and resolving them promptly. Typical problems include error codes, ignition failures, and improper venting. Check for fault codes displayed on the control board, as they provide specific diagnostics. Ignition issues may stem from faulty gas valves or blocked burners. Ensure proper venting and combustion air intake, as obstructions can lead to malfunction. Additionally, verify electrical connections and ensure the dehumidistat is wired correctly. Improper installation or damaged components can cause operational issues. Refer to the troubleshooting section in this manual for detailed solutions and maintenance tips to prevent recurring problems. Always follow safety guidelines when diagnosing or repairing the furnace to avoid hazards.

Maintenance and Upkeep
Regular maintenance of the GMVC96 furnace is crucial for optimal performance and longevity. Clean or replace air filters monthly to ensure proper airflow. Inspect the venting system for blockages or damage, and ensure combustion air pipes are unobstructed. Check the heat exchanger for signs of wear or corrosion and clean the burner orifices annually. Lubricate motors and fans as recommended. Test the ignition system and verify that all electrical connections are secure. Schedule annual professional inspections to identify and address potential issues early. Proper upkeep not only enhances efficiency but also prevents safety hazards and extends the furnace’s lifespan. Always refer to the manual for specific maintenance procedures and guidelines.
ComfortBridge Technology
The GMVC96 furnace features revolutionary ComfortBridge Technology, designed to enhance system performance and user comfort. This advanced technology ensures seamless communication between the furnace and other HVAC components, optimizing temperature control and energy efficiency. ComfortBridge Technology allows for precise modulation of heating output, reducing temperature swings and providing consistent warmth. It also enables advanced diagnostics, alerting homeowners and technicians to potential issues before they become major problems. By integrating with compatible thermostats and systems, ComfortBridge Technology offers a smarter, more responsive heating experience. This feature is factory-installed in select Goodman furnaces, ensuring reliability and ease of use. Proper installation and configuration by a qualified technician are essential to maximize the benefits of this innovative technology.
Warranty and Support Information
The GMVC96 furnace is backed by a comprehensive warranty program, ensuring peace of mind for homeowners. Goodman offers a limited warranty on parts and heat exchanger, with specific terms outlined in this manual. Proper installation by a qualified HVAC technician is required to maintain warranty validity. The warranty is non-transferable and applies to the original purchaser only. For detailed warranty terms, including coverage periods and exclusions, refer to the warranty section in this manual. Goodman also provides dedicated customer support for technical assistance and service inquiries. Registering the product is recommended to streamline support processes and ensure full warranty benefits. This commitment to quality and customer satisfaction underscores Goodman’s reputation as a trusted HVAC manufacturer.