
Table saw push stick templates provide a safe and precise way to guide materials through power tools. Available in PDF, SVG, and DXF formats, they ensure consistent results.
What is a Push Stick?
A push stick is a tool used to safely guide materials through table saws, routers, and other power tools. Designed to keep hands away from the blade, it typically features a sturdy handle and a pushing surface. Many users create custom push sticks using templates available in PDF, SVG, or DXF formats, ensuring precise cuts and control. Some styles include notches or angled designs for better leverage, while others incorporate grip enhancements like sandpaper or rubber strips for stability. Homemade versions often utilize plywood or durable woods, offering versatility for different woodworking tasks. A push stick is essential for maintaining safety and precision during cutting operations.
Why Use a Push Stick with a Table Saw?
Using a push stick with a table saw enhances safety by keeping hands away from the blade, reducing the risk of injury. It provides precise control, especially for narrow or uneven stock, ensuring accurate cuts. A push stick also prevents kickback by maintaining consistent pressure, allowing smoother material flow. Many woodworkers prefer custom designs, often created from PDF templates, to suit specific tasks. Some push sticks feature angled or notched designs for better leverage, while others include grip enhancements like rubber strips or sandpaper for stability. By minimizing direct contact with the saw, a push stick promotes safer and more efficient woodworking operations, making it an essential tool for any workshop.

Materials and Tools Needed for Making a Push Stick
- Materials: hardwood, plywood, or plastic.
- Tools: table saw, drill, sandpaper, jigsaw (optional), clamps, and safety gear.
Common Materials for Push Sticks
When crafting a push stick, choosing the right material is essential for durability and performance. The most common materials include:
- Hardwoods like maple or oak, offering strength and stability.
- Plywood for a lightweight yet rigid option.
- Plastic for a smooth, low-friction surface.
These materials provide the necessary rigidity to control workpieces while ensuring safety and ease of use. Selecting the right material depends on personal preference and the specific requirements of your table saw projects.
Essential Tools for Crafting a Push Stick
To create a push stick, you’ll need specific tools to ensure accuracy and safety. A table saw is the primary tool for cutting materials. Other essential tools include:
- Tape measure for precise measurements.
- Square to ensure accurate cuts and angles.
- Sander to smooth edges and surfaces.
- Drill press for adding handle or grip holes.
- Clamps to hold materials steady during cutting.
- Safety gear, such as gloves and goggles, for protection.
Optional tools like a router for edge profiling or a jigsaw for curved cuts can enhance functionality. Having these tools ensures a well-crafted push stick tailored to your needs.

Design Considerations for a Table Saw Push Stick
When designing a push stick, prioritize ergonomics, stability, and safety. Consider handle comfort, length, width, and angles to ensure optimal control and smooth operation.
Handle Design and Ergonomics
Ergonomic handle design is crucial for safe and effective use of a push stick. The handle should fit comfortably in the hand, reducing fatigue during extended use. Materials like wood or composite are ideal for their grip and durability. A contoured or rounded shape minimizes strain, while a textured surface enhances control. The handle’s position relative to the pushing surface should allow for a neutral wrist alignment, reducing the risk of injury. Consider adding a slight angle or bend to improve leverage and visibility of the cutting area. Customizing the handle to suit the user’s hand size and preference can significantly enhance usability. Proper ergonomics ensure precise control and reduce the likelihood of accidents. A well-designed handle is essential for both safety and efficiency.
Pushing Surface and Angle
The pushing surface and angle of a table saw push stick are vital for effective control and safety. The pushing surface should be broad and flat, ensuring consistent contact with the workpiece to prevent slippage. A textured or rubberized surface enhances grip, maintaining stability during cuts. The angle of the pushing surface relative to the handle is equally important; a slight incline can improve leverage and visibility of the blade. Proper alignment ensures even pressure distribution, reducing the risk of kickback. The angle should accommodate the user’s stance and the specific cut type, promoting precision and ease of use. A well-designed pushing surface and angle optimize both safety and efficiency in table saw operations.
Length and Width of the Push Stick
The length and width of a push stick are critical for safe and effective use. A typical push stick ranges from 12 to 24 inches in length, allowing for comfortable reach across the table saw without overreaching. The width should be wide enough to apply even pressure but narrow enough for precise control, usually between 2 to 4 inches. These dimensions ensure stability and balance, preventing the workpiece from shifting during cuts. The length and width may also vary based on the material thickness and the specific cut being made. Proper proportions ensure optimal maneuverability and safety, making the push stick versatile for various table saw applications. Always consider the material and task specifics when determining these measurements.

Safety Features of a Table Saw Push Stick
Safety features, such as blade clearance and a secure grip, ensure control and protection. The push stick’s design prevents kickback while maintaining consistent pressure on the workpiece during cuts.
Blade Clearance and Protection
Blade clearance is critical to ensure the push stick does not interfere with the saw blade. Proper clearance prevents accidental contact, reducing the risk of injury or damage. The push stick’s design should maintain a safe distance from the blade while guiding the workpiece. Durable materials and precise angles help protect both the user and the tool. Regular inspections and proper handling further enhance safety, ensuring reliable performance during cuts.
Grip and Control Options
A secure grip is essential for maintaining control while using a push stick. Various grip options, such as textured surfaces or ergonomic handles, can enhance comfort and precision. Contoured grips reduce hand fatigue, while non-slip materials ensure a stable hold, even in demanding cuts. Additionally, adjustable handles or padded surfaces can be incorporated to suit individual preferences. Proper grip design minimizes the risk of losing control, ensuring smooth and accurate workpiece guidance. Customizable grip options allow users to tailor the push stick to their specific needs, improving both safety and performance during table saw operations.
Weight Distribution for Stability
Proper weight distribution is critical for a push stick’s stability and effectiveness. A balanced design ensures consistent pressure on the workpiece, preventing uneven cuts or loss of control. Materials with adequate mass, such as hardwood or metal, can enhance stability. The push stick should not be overly heavy, as this could make it difficult to maneuver. Instead, the weight should be evenly distributed to maintain steady contact with the workpiece. This balance minimizes the risk of the stick wobbling or lifting during operation, ensuring precise guidance and safety. A well-designed push stick promotes smooth, controlled cuts and reduces the likelihood of accidents caused by instability.

How to Use a Push Stick Safely
Always maintain firm control and proper posture when using a push stick. Keep hands away from the blade, apply consistent pressure, and ensure the stick glides smoothly.
Approach Techniques for Different Cuts
For rip cuts, position the push stick to maintain consistent pressure along the length of the wood, ensuring it moves smoothly through the saw. For crosscuts, adjust the angle and apply even pressure to prevent binding. Thicker materials may require a firmer grip and controlled motion to avoid kickback. Always keep the push stick in contact with both the workpiece and the fence for stability. When encountering angled cuts, such as bevels or miters, adjust the push stick’s position to accommodate the angle, ensuring the wood remains aligned with the blade. Practice on scrap wood to refine your technique for various scenarios, ensuring safety and precision in every cut.
Best Practices for Maintaining Control
Maintaining control with a push stick requires a firm, consistent grip and proper body positioning. Always keep your hands away from the blade and ensure the push stick remains flat against the workpiece. Use your body weight to apply steady pressure, avoiding jerky movements. Align the push stick with the fence or miter gauge to guide the material accurately. Stay focused on the cutting process and avoid distractions. Use slight downward pressure to keep the workpiece firmly on the table. By combining these techniques, you can maintain precise control and ensure safe, accurate cuts every time. Practice these habits for consistent results.

Creating a Custom Push Stick Template
Design a template with precise measurements and angles, ensuring it suits your table saw’s specifications. Use durable materials and a clear layout for easy tracing and cutting.
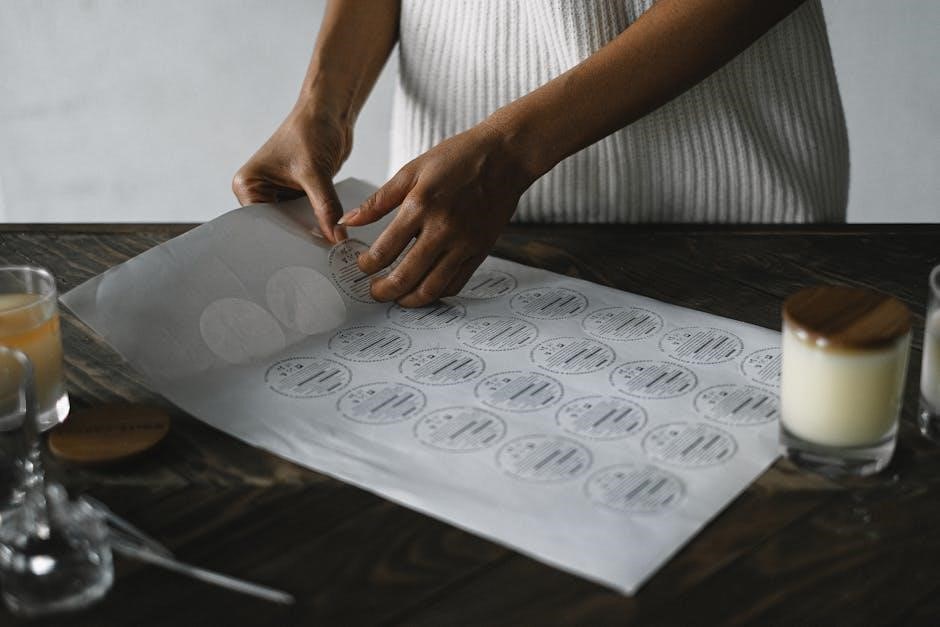
Downloading and Printing the Template
Find a reliable source offering a table saw push stick template PDF. Download the file and ensure your printer settings match the template’s dimensions. Use cardstock or sturdy paper for durability. Print at 100% scale to maintain accuracy. Verify measurements with a ruler before cutting. For best results, laminate the template to protect it from wear. Store it in a dry place to prevent warping. Ensure the template aligns with your table saw’s specifications for safe and effective use. Double-check the design for any adjustments needed. This step ensures your push stick will function properly and maintain safety standards during woodworking projects.
Modifying the Template for Specific Needs
To modify a table saw push stick template, start by downloading the PDF and editing it with software like Adobe Acrobat. Assess your needs: do you require a longer or shorter stick, or a different width? Adjust the length and width in the template accordingly. Consider the pushing surface angle for various materials; research recommended angles for safety. If using different materials, tweak the template to match. Customize the handle for comfort, possibly enlarging or shrinking it. Add safety features like non-slip surfaces if desired; Avoid compromising structural integrity. Test modifications with scrap wood before final use to ensure safety and effectiveness.
Preparing the Workpiece for Cutting
Before cutting, ensure the workpiece is properly prepared. Start by planning the cut, marking the material accurately with a pencil or marker. Secure the workpiece on a flat surface or use clamps to prevent movement during cutting. Remove any debris or obstructions that could interfere with the saw or push stick. Double-check the measurements and alignment to match the template. Use a sharp blade to ensure clean cuts and prevent kickback. Position the push stick according to the template guidelines, ensuring it aligns with the workpiece’s edge. Always maintain a firm grip on the push stick and keep your hands away from the blade path during operation.

DIY Push Stick Project
Gather materials and tools, then cut out the push stick using the template. Sand the edges for smooth handling and attach a handle for better grip; Test the push stick on your table saw to ensure proper alignment and control. This DIY project saves money and provides a custom, professional-grade tool for safe woodworking operations.
Step-by-Step Guide to Cutting Out the Push Stick
Begin by printing the table saw push stick template PDF and transferring it onto your selected material using adhesive or tracing. Cut along the template edges with a jigsaw or bandsaw, maintaining precise alignment. Sand the cut edges to smooth them out. For added functionality, drill holes for handle installation or weight distribution. Apply a finish like varnish or oil to protect the wood. Allow the finish to dry before use. Finally, test the push stick on your table saw to ensure it guides material safely and effectively. This step-by-step process ensures a professional-quality tool tailored to your woodworking needs.
Sanding and Finishing the Push Stick
Begin sanding the push stick using 80-grit sandpaper to smooth rough edges and splinters. Progress to 120-grit for a finer finish, ensuring all surfaces are even and free of scratches. Sand in the direction of the wood grain to avoid damage. For finishing, apply a thin coat of varnish or wood oil, allowing it to dry according to product instructions. Lightly sand between coats for a polished look. Repeat until desired smoothness is achieved. This process enhances durability and aesthetics, ensuring the push stick is both functional and visually appealing for safe and efficient use with your table saw.
Adding a Handle or Grip
Attaching a handle or grip to your push stick enhances control and comfort during use. Cut a small notch at the top of the push stick for the handle. Use wood screws or a strong adhesive to secure a wooden or rubber handle. Wrap the grip area with non-slip tape or a rubber sleeve for improved traction. Ensure the handle is ergonomically shaped to fit your hand comfortably. A secure attachment prevents the handle from loosening over time. This step is crucial for maintaining precise control while operating the table saw, ensuring both safety and efficiency in your woodworking projects.
Testing the Push Stick on the Table Saw
Once your push stick is complete, test it on the table saw to ensure proper functionality. Start by checking blade clearance to avoid interference. Hold the push stick firmly and guide a scrap workpiece through the saw. Assess how smoothly it glides and maintains contact with the material. Test on different angles and thicknesses to verify stability. Pay attention to how the handle feels in your hand, ensuring a secure grip. Make adjustments if needed for better control or balance. After testing, refine any edges or surfaces for optimal performance. A well-tested push stick ensures safety and precision during woodworking projects.